

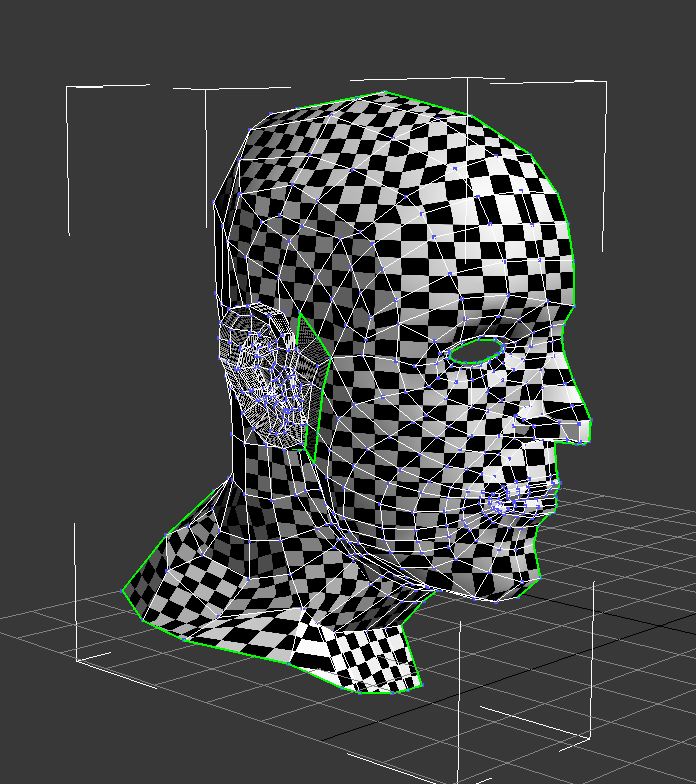
To begin, a simple checkered pattern material is apply to the model, which tells us how smoothly the flow of polygons is across the geometry of the head.


The area that will be worked on first is the majority of the head and face - the ear is a complex design and is best suited to being UVW mapped seperately. In order to create an accurate UVW coordinate map, a suitable projection method needs to be used. In this case the 'cylindrical' tool is used to correctly map the UVW coordinates, bearing in map that only half of the model will be UVW mapped to begin with. Its important here to ensure the cylindrical gizmo is scaled and centered to ensure no 'seams' are present on the UVW map (this also prevents problems when the texture is mirrored on both sides of the face later.

To continue, the UVW map can now be perfected in the editor window.
Hot Tip - make sure 'constant update' is enabled in the options panel of the edit UVWs box. This allows you to see what effect moving the vertices around here has on your model.
Hot Tip - make sure 'constant update' is enabled in the options panel of the edit UVWs box. This allows you to see what effect moving the vertices around here has on your model.
First, I needed to ensure the texture coords have been imported properly - this is done by selecting 'inverted faces' under the select tab. To begin with the majority of the faces are inverted, however this can be solved by mirroring the UVW map, followed by correctional positioning and scaling.
One of the most noticeable problems with the uvw map is stretching. The top of the head is the best example, but this can be fixed by 'relaxing' the vertices using the relax tool, which rounds out the geometry. This same process needs to be repeated on areas around the head with significant stretching of the quads.
One of the most noticeable problems with the uvw map is stretching. The top of the head is the best example, but this can be fixed by 'relaxing' the vertices using the relax tool, which rounds out the geometry. This same process needs to be repeated on areas around the head with significant stretching of the quads.

The second issue resulting from the use of uvw mapping is 'overlapping'. There will be some areas such as the eye which contain a large number of vertices overlapping, creating a messy web effect.
To solve this, I used the 'paint-select mode' to highlight the problem vertices and those directly next to them (surrounding the eye only) and used the 'relax by centers' tool to seperate and organise them effectively. To finish, I also extended the inner loop of the eye by scaling it up to even out the eye socket.
To solve this, I used the 'paint-select mode' to highlight the problem vertices and those directly next to them (surrounding the eye only) and used the 'relax by centers' tool to seperate and organise them effectively. To finish, I also extended the inner loop of the eye by scaling it up to even out the eye socket.


A final check at this point is to ensure there are no more overlapping or inverted faces present on the uvw map. The end result can be seen below, there is a nice smooth flow of polygons across the model.
No comments:
Post a Comment